How to Bend Tubing Accurately: Techniques, Tools, and Tips
Jump to section
Tube bending is the process of shaping metal tubing into precise angles and curves without weakening its structure. Achieving accurate bends means understanding essentials like bend radius, wall thickness, springback, and the right tooling—from manual and hydraulic benders to mandrels and CLR dies.
In this guide, you’ll quickly learn what happens to a tube during bending, the key terms that define bend quality, and the tools and steps needed for consistent, high-accuracy results. If you want clean bends, minimal deformation, and professional precision, this overview gives you exactly what you need.
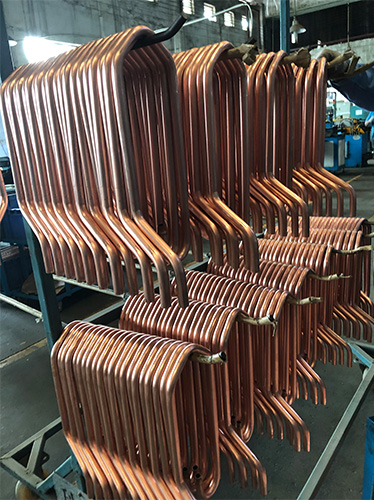
What is Tube Bending
Tube bending is a metal forming process that reshapes tubing into controlled angles or curves without damaging its structure. It changes the tube’s geometry while keeping its internal diameter and wall thickness within acceptable limits for function and strength. Accurate bending depends on understanding material behavior, proper tooling, and maintaining dimensional tolerances.
What Happens When a Tube is Bent?
When a tube is bent, the metal on the outside of the bend stretches and becomes thinner, while the inside of the bend compresses and thickens. This happens because the material travels different distances along the curve. The outer surface experiences tensile stress, and the inner surface experiences compressive stress.
Uneven stretching can cause issues such as wrinkling, ovality, or collapse if not controlled. Using support devices like mandrels or wiper dies helps reduce these problems by supporting the tube’s inner and outer walls. The quality of lubrication also affects how smoothly the metal flows during bending.
Tube Bending Fundamental Terms
Bend radius is the radius of the centerline of the bend and directly affects tube deformation. A smaller radius produces a tighter bend but increases stress on the material. The minimum bend radius is the smallest radius that can be achieved without excessive flattening or wrinkling.
Wall thickness refers to the distance between the tube’s inner and outer surfaces. Thicker walls resist flattening but require more force to bend. Variations in wall thickness can lead to inconsistent results and alignment problems.
Springback is the tube’s tendency to partially return to its original shape after bending. It depends on the material’s elasticity and must be compensated for in tooling or machine settings. Accurate bending requires precise control of all these factors to meet design goals.
Tube Bending Sizes and Tolerances
Tube size defines the tube’s outer diameter (OD) and wall thickness, which together determine bending capability. Common tubing ranges from small instrument lines to large structural pipes. The larger the diameter, the greater the force and bend radius required.
Tolerances specify allowable dimensional variations after bending. These include centerline radius accuracy, wall thinning percentage, and roundness limits. For most applications, maintaining ±1% to ±2% of nominal size ensures good fit and performance.
The following table summarizes key tolerance factors:
| Parameter | Typical Limit | Effect on Bend Quality |
| Wall thinning | ≤ 10% | Excessive thinning weakens tube |
| Ovality | ≤ 5% | Affects sealing and fit |
| Bend angle deviation | ±0.5° | Impacts alignment accuracy |
How to Choose the Right Tools and Equipment
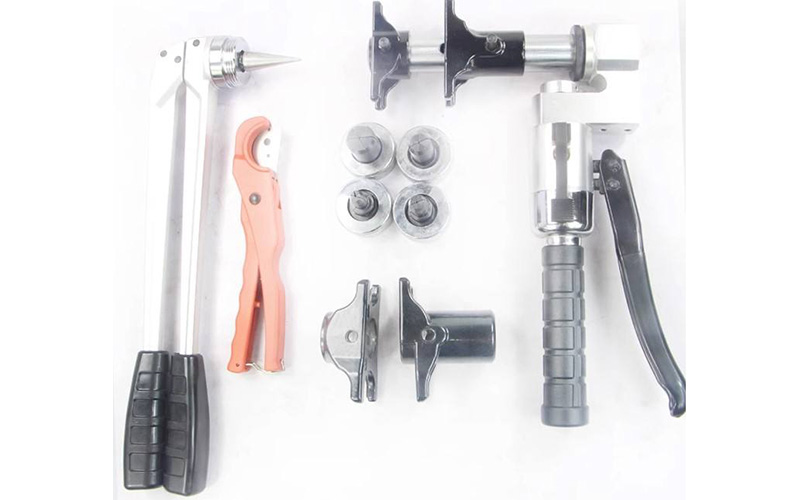
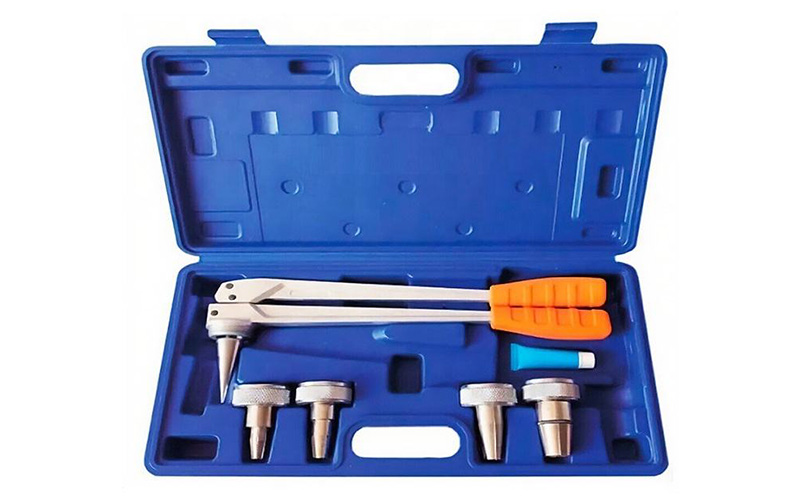
Manual Tube Benders vs Hydraulic Tube Benders
A manual tube bender is a hand-operated tool that shapes tubing by applying physical force through a lever or gear system. It works best for soft materials such as copper, aluminum, or thin-walled steel and smaller tube diameters. Manual benders give users direct control, making them suitable for workshops or small repair jobs.
A hydraulic tube bender uses pressurized fluid to apply even and powerful force. It handles thicker or harder materials like stainless steel and chrome-moly. Hydraulic models offer consistent results with less physical effort, which makes them common in fabrication shops or industrial settings.
| Type | Ideal Materials | Typical Use | Key Benefit |
| Manual | Copper, aluminum, thin steel | Light work, repairs | Low cost, portable |
| Hydraulic | Stainless steel, thick wall pipes | Heavy-duty, production | High force, precision |
Choosing between them depends on bending volume, material type, and required accuracy.
Selecting Bending Dies and CLR
A bending die is a shaped form that determines how tightly the tubing curves. Each die is defined by its centerline radius (CLR)—the distance from the bend center to the middle of the tube. The correct CLR ensures a uniform bend without flattening or kinking.
Smaller CLRs create tighter bends but increase stress, especially in thick or high-strength materials. Larger CLRs produce gentler curves and reduce risk of deformation. Tubing size, wall thickness, and bend angle all guide die selection.
Users often keep a table of standard CLR values for different tube diameters. Pairing the right die and CLR prevents wasted stock, tool damage, and inconsistent dimensions across production runs.
When to Use bending springs or mandrels
A bending spring is a flexible metal coil placed inside or outside the tube to keep its shape during bending. It’s useful for thin-walled tubing that tends to collapse or distort. The spring distributes force evenly, allowing tighter bends by resisting compression on the inner wall.
A mandrel is a solid or segmented insert that fits inside the tube to support it from within. Mandrels prevent wrinkling and maintain the internal diameter in tight-radius or precision bends. They are often used for stainless steel or aircraft-grade tubing.
Choosing whether to use a spring or mandrel depends on wall thickness, bend radius, and the desired surface quality of the finished part.
Detailed Steps for Accurate Tube Bending
Here are the detailed steps for accurate tube bending:
Step 1. Marking and Measuring for Precision
Step 2. Setting Up Tube Benders Properly
Step 3. Controlling Bend Angles and Springback
Step 1. Marking and Measuring for Precision
Marking and measuring define the exact points where each bend begins, ends, and transitions. Accurate marks on the tubing ensure every angle and length match the design. Using a steel rule, protractor, or layout jig helps confirm alignment before bending.
Technicians usually mark the bend’s start line and tangent point to guide the tooling. These reference lines prevent misalignment and conserve material. A bend radius chart is often used to calculate the distance between bend centers, reducing guesswork.
For repeatable results, builders should note all measurements directly on the tube or a layout sheet. Recording key data like centerline radius and angle of bend makes future adjustments quicker. Even a small error in marking can cause improper fit or wasted stock.
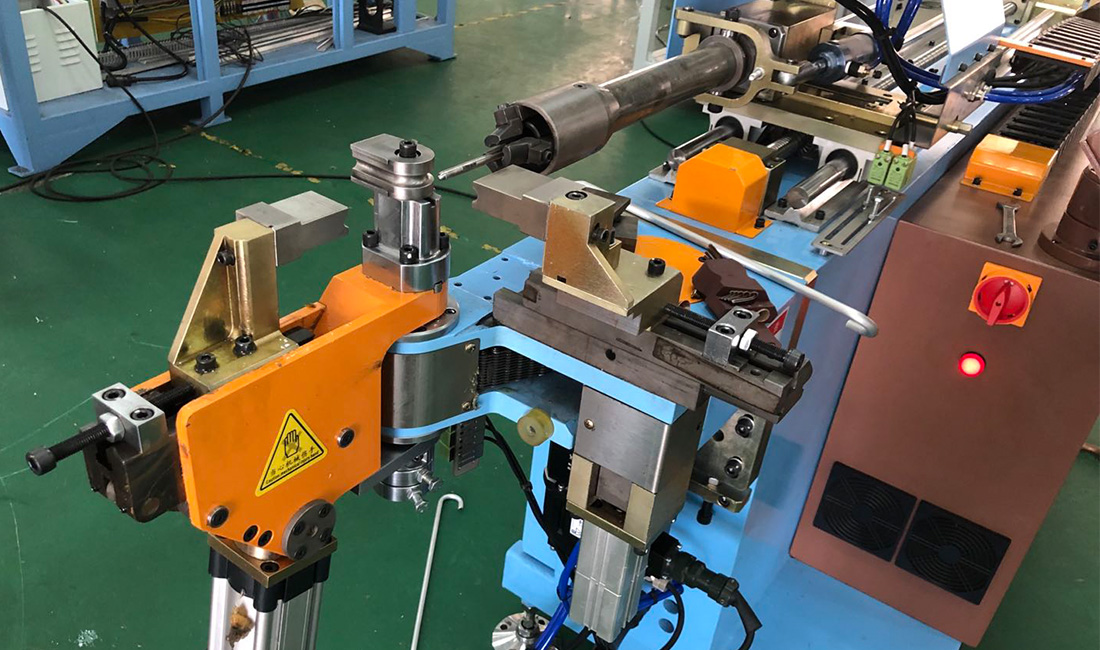
Step 2. Setting Up Tube Benders Properly
A tube bender is a mechanical device that shapes tubing into smooth curves without flattening or kinking it. Setting it up correctly is key to maintaining accuracy and tube integrity. The main components are the bend die, clamp die, and pressure die. Each must be aligned precisely to hold and guide the tube through the bend.
The bend die controls the bend radius by wrapping the tube around its form. The clamp die holds the tubing firmly at the start of the bend, while the pressure die pushes the tube along the contour. The operator checks clearances and tension to avoid slipping or deformation.
Before starting, they verify that the correct die size matches the tubing’s outer diameter. For tight bends or thin-wall tubes, a mandrel or wiper die can support the inner surface and prevent wrinkles. Frequent checks during setup reduce most bending errors before they happen.
Step 3. Controlling Bend Angles and Springback
Springback is the tube’s tendency to return slightly toward its original shape after bending. It occurs because the metal’s outer wall stretches and the inner wall compresses. If ignored, springback can make bends shallower than required.
To control this, operators often overbend the tube by a few degrees. The exact allowance depends on material type, wall thickness, and bend radius. Harder materials, like stainless steel, show more springback than softer ones such as aluminum.
Measuring the bend angle with an angle finder or digital gauge ensures consistency. Recording the difference between intended and actual angles helps adjust future bends. Minimal springback correction keeps bend accuracy high without excessive rework or material stress.
Techniques and Methods for Bending Success
1.Here are the Key Takeaways:
- Mandrel supports the inner wall to prevent collapse and wrinkling.
- Pressure die controls outer-wall pressure to avoid stretching or flattening.
- Proper alignment is essential: ○Misaligned mandrel → collapse or wrinkles ○Misaligned pressure die → flattening or cracking ○Misaligned clamp die → slippage or inconsistent bend angles
- Adequate lubrication reduces friction and ensures smooth, consistent bending.
2.Heat-Assisted Bending
- Required for hard-to-form materials such as stainless steel and titanium.
- Heating lowers yield strength, allowing easier and more precise bending.
- Temperature must be controlled to avoid weakening or oxidation.
- Even heat distribution prevents distortion and uneven wall thickness.
- Gradual cooling minimizes residual stress and helps the part retain its shape.
3.Preventing Collapse & Deformation
- Check wall thickness—thicker walls resist collapse better.
- Use the correct bend radius—too small increases stress dramatically.
- Keep dies accurately aligned for uniform pressure application.
- For tight-radius bends, add: ○Mandrels for internal support ○Pressure dies / wiper dies for external support
Frequently Asked Questions
What are common mistakes when bending pipes?
A common mistake in tube bending is improper preparation. Failing to clean, deburr, or align the tubing before bending can cause uneven bends and surface damage. Dirt or metal shavings increase friction, which can deform the tube during pressure application.
Applying uneven or excessive force often leads to kinks or cracks. Over-bending stretches the outer wall too much, while under-bending produces incorrect angles that require rework. Using the wrong die size or bend radius also weakens the tube and changes the flow path.
Some operators ignore material limits. Metals like aluminum or stainless steel bend differently based on thickness and hardness. Using the same approach for all materials results in collapsed or flattened sections that affect performance and appearance.
How do you calculate tubing bends?
Tubing bend calculation is the process of determining the correct bend angle, radius, and length to produce accurate results. It ensures consistent dimensions across multiple bends and helps avoid waste from trial and error.
To start, workers measure the centerline radius (CLR), which is the distance from the tube’s centerline to the center of the bend. They use this to calculate the bend allowance—the extra length needed for the material to follow the curve without stretching unevenly.
Bend deduction factors in how much length is lost after the tube bends. A protractor, angle gauge, or digital bend calculator helps check these values before cutting or forming the tubing. Professionals often record each measurement to replicate precise bends in later projects.
Want to Know More About Our Products?
View All Products Now